

Mail merge is a practical tool for sending mass personalized emails to scientific leads and prospects. When targeting researchers, principal investigators, and decision-makers in life sciences, customized outreach with relevant scientific data points improves engagement. SciLeads can provide the data to make your sales and marketing messages have contextual impact and relevance, increasing the likelihood of the recipient engaging and responding with you, but setting up the mail merges will take some additional work outside of the SciLeads platform. This guide explains how to send customized emails to scientific prospects using Gmail, Google Sheets, and the Yet Another Mail Merge (YAMM) plugin.
If you want to do mail merge in Outlook click here.
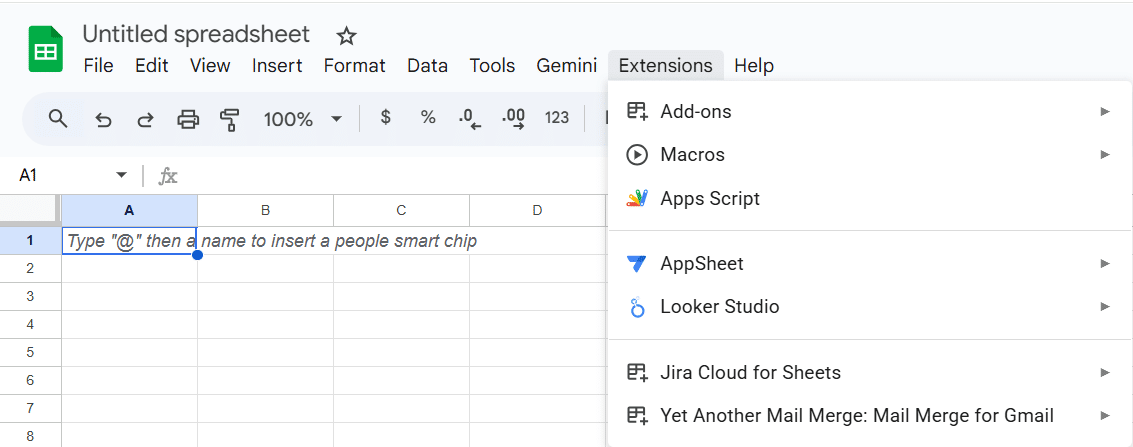
Mail Merge for Scientific Sales Outreach Using G Suite (Gmail, Contacts, Google Sheets)
Step 1 – Install Plug-in
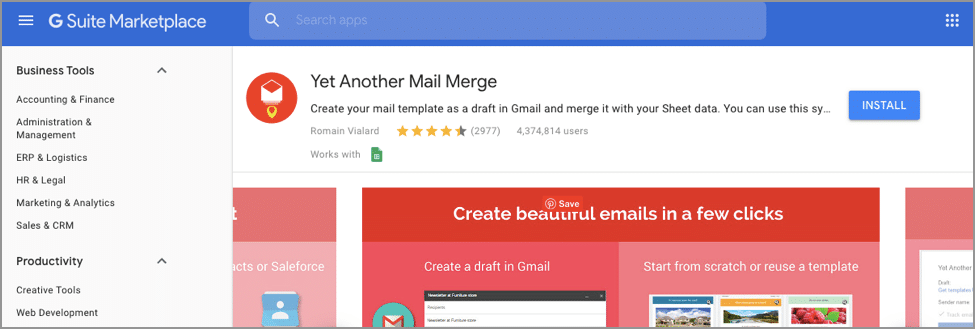
Follow this link to download the Yet Another Mail Merge (YAMM) Google Spreadsheet add-on. Alternatively, open a Google Spreadsheet and navigate to Add-ons > Get add-ons, then search for “Yet Another Mail Merge.”
Step 2 – Create Your Scientific Mailing List
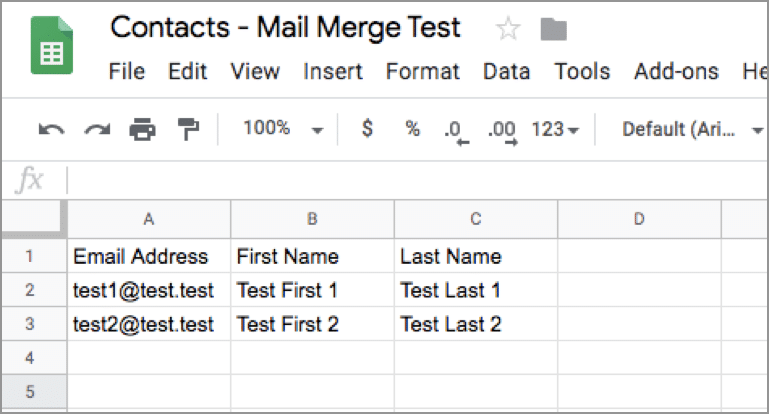
Using SciLeads, extract your contact list, including verified researchers, funding recipients, and key industry professionals. Import this data into a Google Spreadsheet, ensuring that each scientific lead has a corresponding Email Address, First Name, Last Name, Institution, Research Focus, and Funding Details for precise personalization.Alternatively, input contacts manually using separate columns for all relevant scientific data points.
Step 3 – Draft Your Email with Personalized Scientific Data
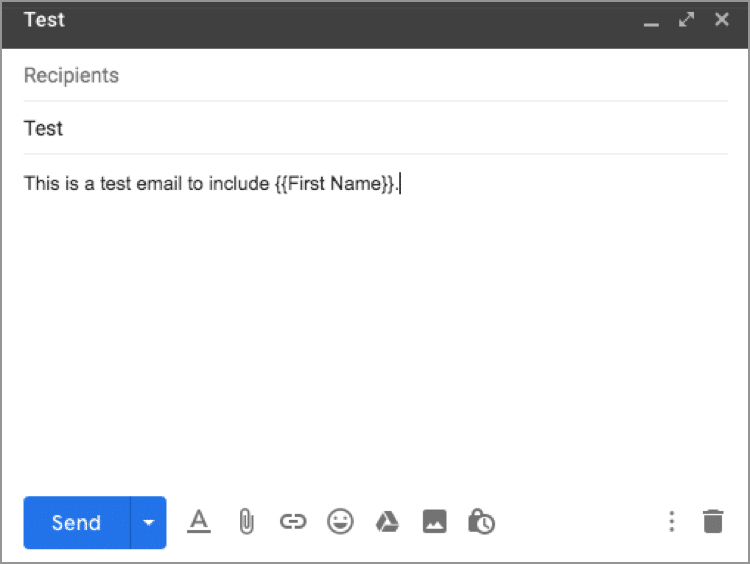
- In Gmail, compose a new email template.
- Use double curly brackets to insert placeholders for customization. Example:
- Subject: Research Funding Opportunities for {{First Name}}
- Body: “Dear {{First Name}}, I came across your work on {{Research Focus}} and wanted to connect regarding funding sources. Our team at SciLeads has identified grant recipients in {{Institution}}, and I’d love to share insights that may be valuable to your research.”
- Ensure placeholders match the column headers in your spreadsheet, as YAMM is case-sensitive.
Step 4 – Execute the Mail Merge with SciLeads Contacts
- Open your Google Spreadsheet with the SciLeads mailing list.
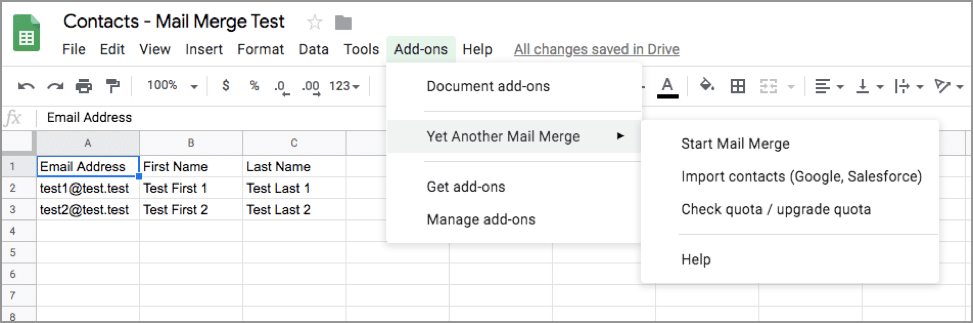
- Navigate to Add-ons > Yet Another Mail Merge > Start Mail Merge.
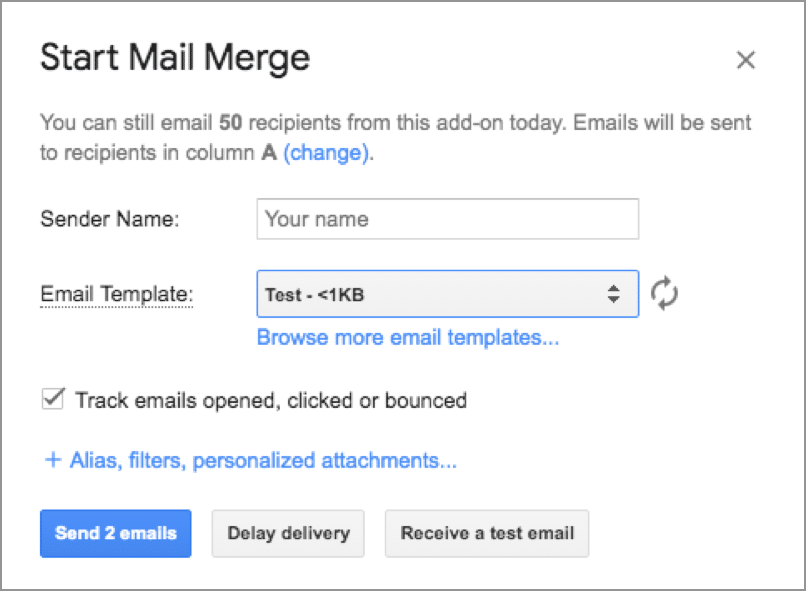
- Select the email template you created in Step 3.
- Click “Receive a test email” to preview before sending.
- Once satisfied, initiate the mail merge to send personalized emails to scientific leads.
Additional Information
For more information, check out the developer’s website
There are several other plug-ins available for mail merge with G Suite. Mail Merge with Attachments is one such alternative.
Optimizing Your Mail Merge for Scientific Engagement
To improve engagement:
- Reference relevant funding data (SciLeads provides insights on grant recipients for targeted messaging).
- Mention recent publications or conference activity from SciLeads data.
- Use follow-up automation to engage with non-respondents.
Mail Merge Tools for Scientific Sales
Other mail merge tools include:
- Mail Merge with Attachments – For sending whitepapers, case studies, or datasets.
- Microsoft Outlook Mail Merge – For teams using Outlook.
Why Use SciLeads for Mail Merge?
SciLeads enables businesses to:
- Find and engage the right scientific leads using a specialized database.
- Use structured scientific contact data to personalize outreach.
- Quickly build targeted mailing lists of researchers and biotech professionals.
SciLeads makes mail merge efficient and targeted, ensuring engagement with scientific prospects.
Get Started with SciLeads Today
Book a 20-minute demo to see how SciLeads can improve your scientific email outreach.
“SciLeads has been critical to the success of our sales and marketing efforts. I don't know where we would be without its data and insights.”