
Mail merge is a practical tool for sending mass personalized emails to scientific leads and prospects. When targeting researchers, principal investigators, and decision-makers in life sciences, customized outreach with relevant scientific data points improves engagement.
SciLeads can provide the data to make your sales and marketing messages have contextual impact and relevance, increasing the likelihood of the recipient engaging and responding with you, but setting up the mail merges will take some additional work outside of the SciLeads platform. This guide explains how to send customized emails to scientific prospects using Microsoft Outlook, Word, and Excel.
If you need to know how to do mail merge in Gmail click here.
Mail Merge Using Microsoft Office Suite (Word, Excel) and Outlook in Windows
Step 1 – Compose Your Email
- Open Microsoft Word and create a new document.
- Write your email, including placeholders for First Name, Last Name, Institution, Research Focus, and Funding Details.
- Save the document locally.
Step 2 – Create Your Mailing List
- Extract contact data from SciLeads, ensuring fields such as Email Address, Name, Research Institution, and Funding History are included.
- Save the data in Microsoft Excel with each category in a separate column.
- Ensure all necessary data is in Sheet 1 of the workbook.
Step 3 – Mail Merge Setup in Word
- Open your Word document from Step 1.
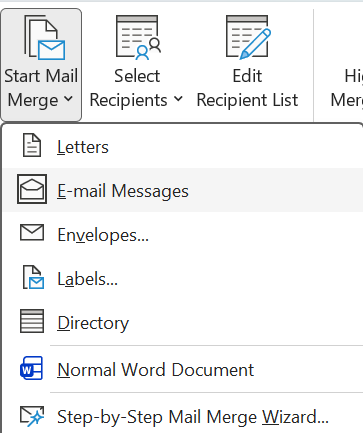
- Navigate to Mailings > Start Mail Merge > Email Messages.
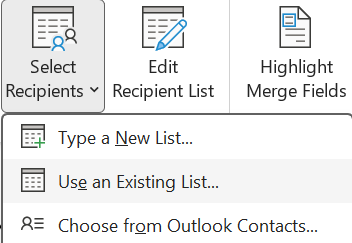
- Click Select Recipients > Use an Existing List, then choose your Excel file from Step 2.
- Ensure column headers match your placeholders in Word.
Step 4 – Insert Personalized Data
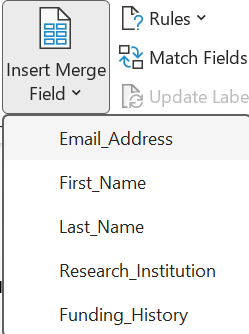
- Click Insert Merge Field and select the relevant fields (e.g., First Name, Institution, Research Focus).
- Place each field where personalization is needed.
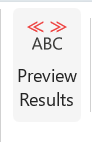
- Use Preview Results to check for accuracy.
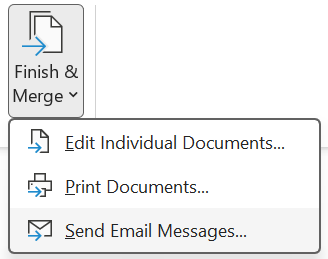
Step 5 – Complete the Merge and Send Emails
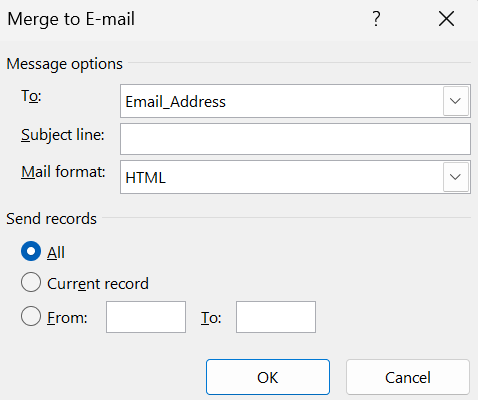
- Click Finish & Merge > Send Email Messages.
- Select the email column from the Excel file.
- Set Outlook as the default email program to execute the mail merge.
- Review and confirm email format before sending.
Optimizing Your Mail Merge for Scientific Engagement
- Leverage SciLeads’ funding data to reference relevant grants.
- Mention recent publications or conference activity from SciLeads data.
- Follow up strategically with non-respondents to improve response rates.
Why Use SciLeads for Mail Merge?
SciLeads enables teams to:
- Identify and engage the right scientific leads using structured data.
- Personalize outreach at scale with verified contact details.
- Build targeted mailing lists of researchers and biotech professionals.
SciLeads makes mail merge efficient and targeted, ensuring higher engagement with scientific prospects.
Get Started with SciLeads Today
Book a 20-minute demo to see how SciLeads can improve your scientific email outreach.